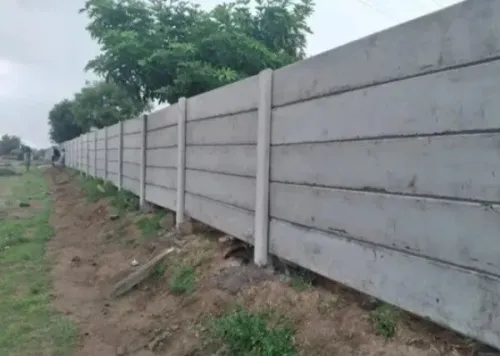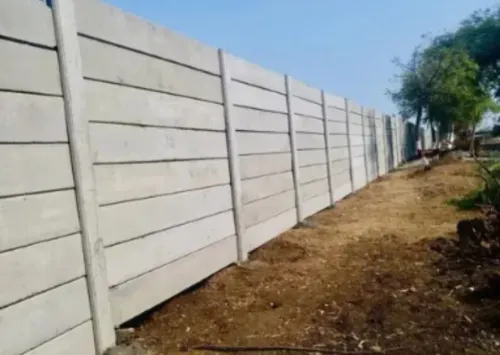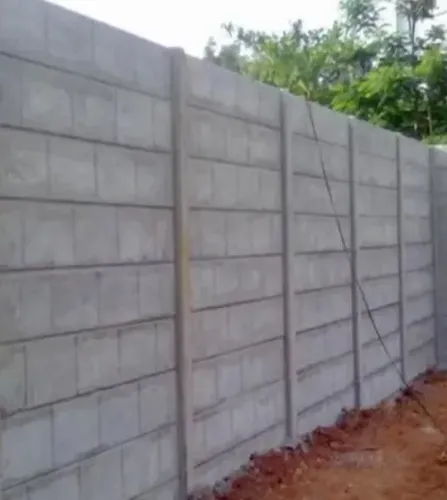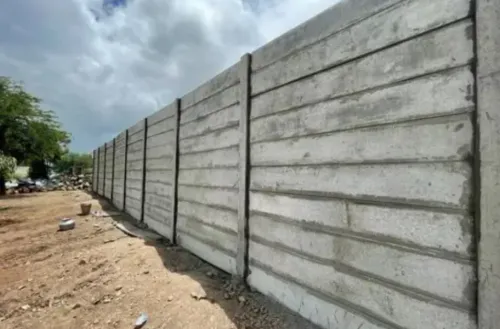
A boundary-wall quote is incomplete until you know the true wall length, finished height, foundation conditions, component dimensions, and the loads the system must resist. By the end, you will be able to compare wall types, challenge vague specifications, plan installation, and request documentation that protects your project from costly site changes.
Key takeaways
- Measure from the legal boundary, including posts, footings, drainage, and excavation.
- Choose wall height and construction type based on security, privacy, wind, and site use.
- Request a component schedule, structural design, lifting plan, and installation sequence.
- Make the quote state quantities, tolerances, exclusions, responsibilities, and acceptance checks.
Measure the boundary before you request a quantity or quote
A boundary wall length calculation starts with the legal property line, not the existing fence. A fence may be misplaced, while posts, footings, drainage outlets, and excavation can extend beyond the finished wall and create trespass or utility conflicts.
1. Commission a licensed or verified property boundary survey tied to title records and marked on site. Record every corner, direction change, road edge, neighbouring structure, utility, drain, tree, level change, and setback measurement.
2. Measure each boundary segment separately and add them to obtain the gross perimeter length. From that total, deduct the clear widths of vehicle gates, pedestrian gates, service openings, and approved setbacks. Do not deduct a gate opening twice when its gate posts remain part of the wall quantity.
3. Add the actual widths of returns, gate piers, end posts, corner connections, and short infill bays. Ask for the manufacturer’s usable bay length, not only the nominal panel length; post width, joint allowance, bearing length, corner details, and tolerances reduce the available opening.
4. Divide every straight run by its usable bay length and round up to complete bays. This prevents a final gap that requires cutting a panel or improvising a connection.
5. Measure sloping ground as stepped or raked sections. Do not multiply plan length by one wall height. Mark finished ground level, top-of-wall level, drainage outlets, and excavation limits on the setting-out drawing.
6. Request an as-built survey after installation, showing the wall, foundations, gates, and drainage. Use it to confirm that construction stays within the verified boundary.
Choose height and wall type from the site’s actual risks and use
Choose boundary wall height from the privacy line, security objective, entrance visibility, planning rules, and property use. A residential plot may need a privacy wall, while a school needs controlled visibility and safe access; a warehouse or exposed industrial yard may need a security wall designed for impact, wind, and restricted entry.
Check these constraints before ordering:
- Municipal building rules and any solid-wall restriction
- Road-corner sight triangles and driveway visibility
- Fire-engine access, drainage rights, and utility corridors
- Gate clearances, neighbouring setbacks, and retained soil
Ask the designer to state total installed height, including foundation exposure, coping, security topping, and retained soil. A stated “2-metre wall” is incomplete if the footing raises the finished level or soil bears against the panels.
| Option | Strengths | Limitations |
|---|---|---|
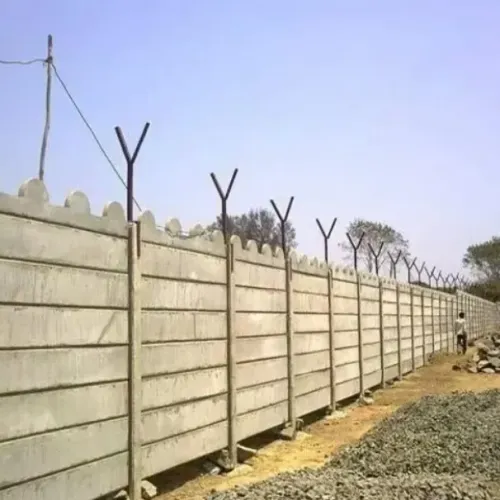
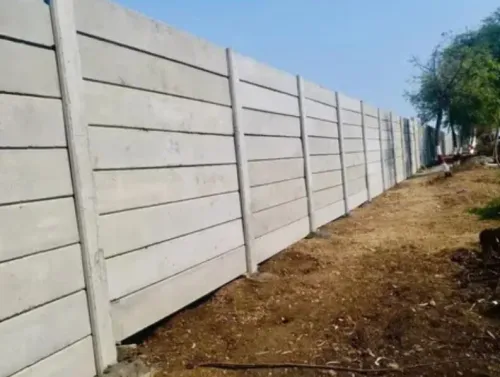
| Prestressed precast panels | Fast erection; less shuttering and on-site curing | Transport, lifting, standard bay geometry, and site-specific connections need control |
| Cast-in-place RCC | Adapts to irregular geometry and heavily loaded structures | More formwork, curing time, labour, and quality-control exposure |
| Masonry or blockwork | Familiar local repairs and flexible detailing | Mortar and workmanship govern cracking and durability |
| Chain-link or metal fencing | Visibility, lower wind area, and lighter foundations | Less privacy and impact resistance |
Compare each option on foundations, posts, gate piers, finishes, transport, erection, repairs, and drainage. This is the essential precast versus cast-in-place RCC wall comparison.
At corners, ends, gate openings, and exposed stretches, do not copy the middle-run post spacing or footing. Require a wind design listing basic wind speed, terrain or exposure category, importance category, wall height, and load combinations.
Demand a component schedule and structural design, not a product label
Demand an approved drawing and component schedule, not a label such as “heavy-duty” or “prestressed.” The schedule must identify every panel, post, beam, cap, socket, footing, connection, joint, corner, and gate interface, with each item numbered so the drawing, quotation, and delivery records match.
- Ask for precast panel dimensions, panel thickness, panel width and length, unit weight, post spacing, post length, embedment, bearing length, joint width, corner detail, foundation depth and footing dimensions: length, width, and thickness. Confirm the finished wall height.
- Make the supplier state whether 6 x 6 inch, 150 x 150 mm, and 200 x 200 mm describe posts, beams, columns, panels, or another component. These sizes cannot be compared until their location and function are identified.
- For “prestressed,” obtain the wire or strand type, tensioning method, release method, concrete strength at release, and claimed benefit over ordinary reinforced concrete. Require reinforcement size and spacing, concrete grade, cement or durability specification, water-cement ratio or durability class, cover, curing method, dimensional tolerances, crack limits, and design loads.
- Require calculations for panel bending, post bending, connection forces, foundation overturning, sliding, soil bearing, groundwater, surcharge, and retained backfill. Gate hinges, sliding tracks, automation equipment, impact loads, and security toppings need separate support or explicit inclusion.
- Request the site soil investigation and foundation assumptions. A standard footing detail does not prove resistance to local soil movement, water, or construction-stage instability. For socketed posts, specify socket diameter, depth, concrete or grout placement, curing, alignment tolerance, annular-void treatment, and bracing-removal point.
Control excavation, drainage, lifting, and erection sequence on site
Begin the precast wall installation sequence with a verified survey, legal setting-out line, utility clearance, finished levels, and a temporary access plan. Mark foundations, gate openings, drainage outlets, excavation limits, and corner geometry before machinery arrives.
1. Excavate sockets or continuous footings to the approved dimensions. Remove loose material, dewater standing water, and verify bearing soil before placing concrete. For Vijayawada soil and monsoon drainage, confirm soil layers, seasonal water level, expansive or weak strata, erosion risk, and a surface-water outlet before finalising foundations.
2. For drilled socket installation, record socket diameter and depth, concrete or grout strength, placement method, alignment tolerance, annular-void treatment, curing period, and the strength at which temporary bracing can be removed. Place and brace posts, then check line, level, plumb, bay spacing, and corner geometry.
3. Insert panels only after posts and foundations reach the specified strength. Follow the lifting-anchor capacity, sling angles, panel orientation, and minimum lifting age or strength stated by the manufacturer. Store panels on firm, level supports at approved points, separated against rubbing; lift only from approved locations.
Obtain the approved repair method before using a panel with a damaged insert.
| Stage | Check before proceeding | Failure consequence |
|---|---|---|
| Foundations | Bearing soil, dimensions, water removal | Settlement or leaning |
| Posts | Line, plumb, spacing, corner geometry | Misfitted panels |
| Drainage | Free-draining backfill, filter, pipe, controlled outlet | Hydrostatic loading |
Where the wall retains soil, provide those drainage measures. Finish joints with specified backing and flexible sealant; retain movement joints rather than filling them with rigid mortar.
Turn the quotation into an acceptance checklist and accountable scope
Sign only against an installed scope, not a panel-only rate. Your precast wall quotation checklist must show quantities, unit rates, exclusions, taxes, and the party accountable for each item.
| Scope item | Confirm in the offer |
|---|---|
| Survey and setting out | Boundary line, levels, corners, and as-built survey |
| Civil works | Excavation, spoil removal, foundations or sockets, drainage, backfilling |
| Wall components | Posts, panels, gate piers, caps, joints, and gate interfaces |
| Site handling | Transport, unloading, crane or lifting equipment, bracing, and damaged-unit removal |
| Completion | Finishing, drainage outlets, repairs, testing, and taxes |
Request this quality documentation before delivery:
- Approved shop drawings with reinforcement, inserts, joints, dimensions, and installation tolerances
- Batch or pour traceability, concrete strength results, and dimensional and visual inspection records
- Lifting instructions stating anchor capacity, sling angles, panel orientation, minimum lifting strength, and damaged-insert repairs
Write the precast concrete acceptance criteria into the contract. Reject units with structural cracks, broken corners, exposed reinforcement, warped panels, or damaged inserts. Define efflorescence, pinholes, colour variation, and minor blemishes by viewing distance and lighting, then name the approved repair material, approval process, and replacement responsibility.
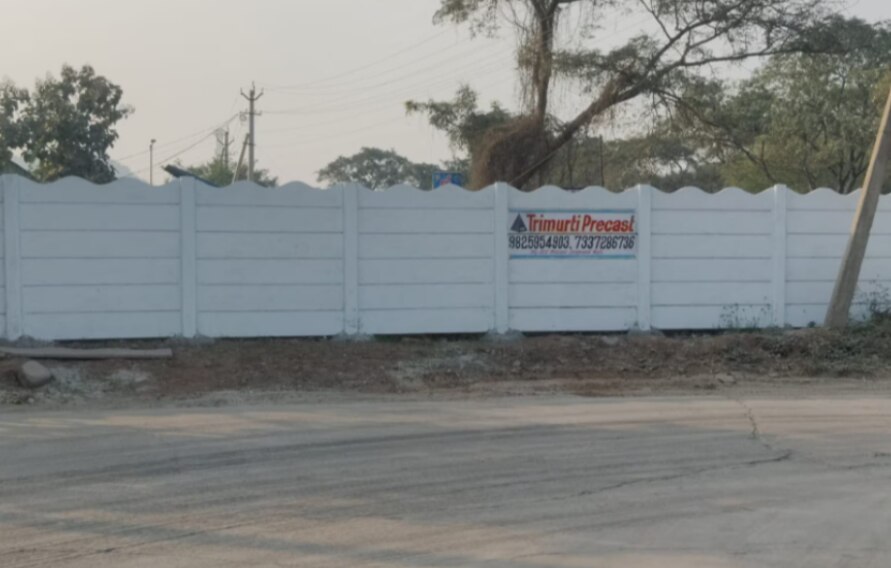
Require a written warranty assigning responsibility for panels, posts, foundations, joints, drainage, settlement, and gate interfaces. Identify who designs for wind and soil conditions and who approves installation changes. A supplier such as Trimurti Precast adds value when it issues project-specific drawings, quantities, methods, and inspection records.
Release final payment only after line, level, plumb, joints, drainage, gate operation, and as-built location pass inspection.
Related products
 | Boundary Walls Material Concrete Type Prestressed Color Grey Beam Size 6 x 6 Inches, 150x150 mm, 200 mm x 200 mm Size 6 feet Country of Origin Made in India we... View product → |
 | Boundary Walls Material Concrete Type Prestressed Color Grey Beam Size 6 x 6 Inches, 150x150 mm, 200 mm x 200 mm Size 6 feet Country of Origin Made in India we... View product → |
Frequently asked questions
Why must you measure from the legal property boundary?
An existing fence may be misplaced, while footings, posts, drainage outlets, and excavation can extend beyond the finished wall. Confirm the legal line before calculating length or requesting a quote.
How should you choose precast boundary wall height and type?
Base the choice on the site’s actual risks and use, including security, privacy, wind exposure, adjacent ground levels, vehicle movement, and the need for access or visibility.
What documents should a precast boundary wall quotation include?
Request a component schedule, structural design, quantities, dimensions, reinforcement details, footing requirements, lifting information, erection sequence, tolerances, exclusions, and responsibility for site work.
What site controls affect precast wall installation?
Control excavation, underground utilities, drainage, ground conditions, lifting access, panel storage, crane positioning, delivery sequence, and the order of post and panel erection.
Related products
 | Boundary Walls Material Concrete Type Prestressed Color Grey Beam Size 6 x 6 Inches, 150x150 mm, 200 mm x 200 mm Size 6 feet Country of Origin Made in India we... View product → |
 | Compound Walls Material Cement Type Boundary Wall Color White Size 8*10 Wall Height 8 to 10 feet Country of Origin Made in India we Trimurti Precast are the leading... View product → |
 | Boundary Walls Material Concrete Type Prestressed Color Grey Beam Size 6 x 6 Inches, 150x150 mm, 200 mm x 200 mm Size 6 feet Country of Origin Made in India we... View product → |
 | Boundary Walls Material Concrete Type Prestressed Color Grey Beam Size 6 x 6 Inches, 150x150 mm, 200 mm x 200 mm Size 6 feet Country of Origin Made in India we... View product → |