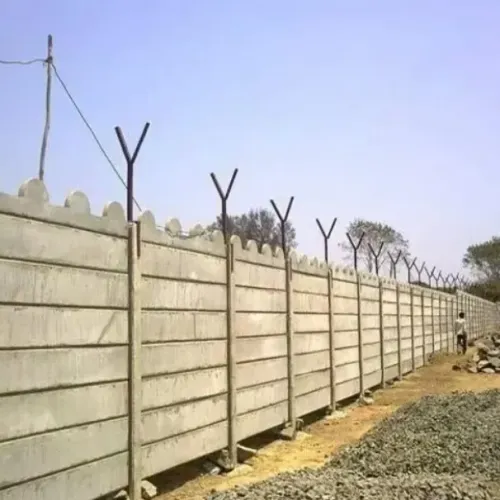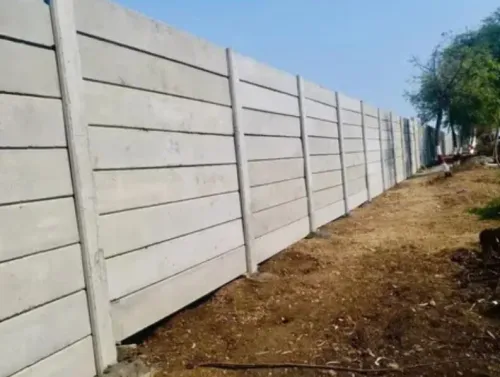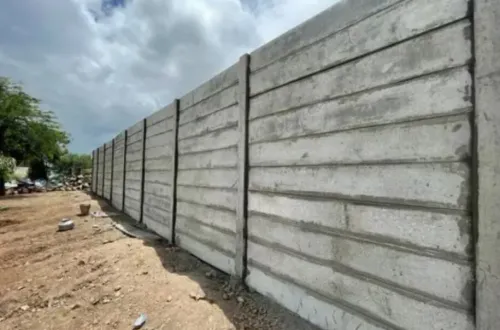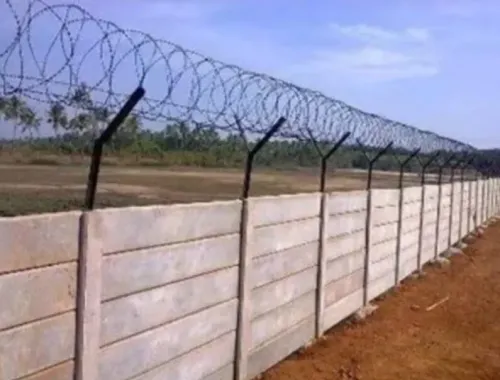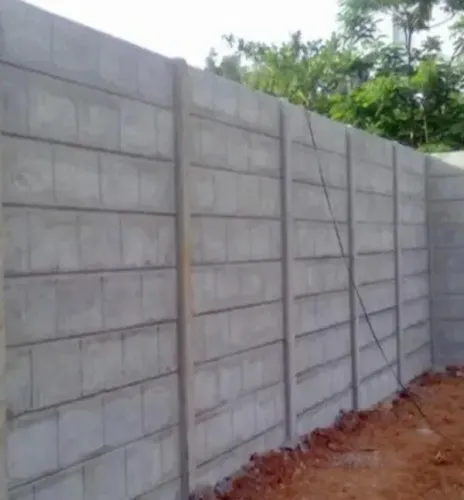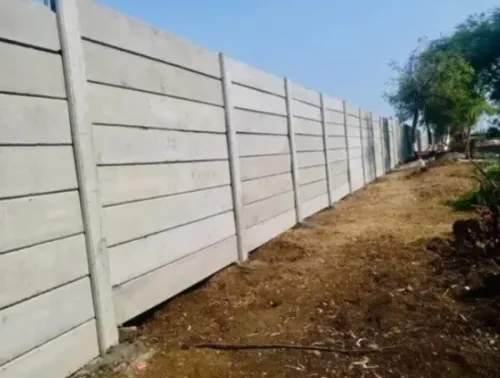
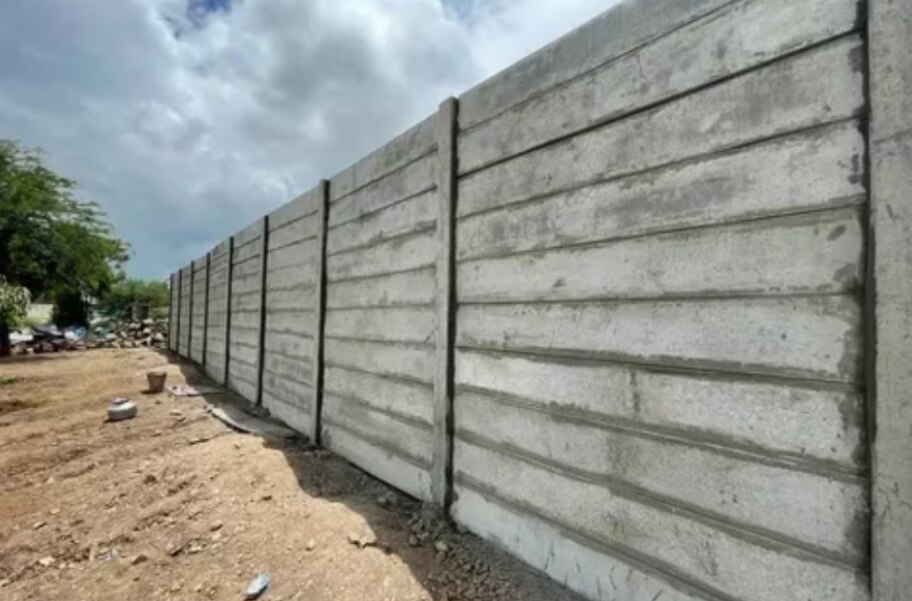
A 50 mm panel label cannot tell you whether an RCC compound wall will remain stable, crack-resistant and serviceable for years. You will be able to compare concrete evidence, reinforcement, exposure protection, foundations, handling controls and delivery defects before approving a wall system.
Key takeaways
- Ask for specified concrete strength, exposure class and production records.
- Verify reinforcement diameter, spacing and concrete cover against site exposure.
- Inspect panel edges, lifting points, joints and curing before installation.
- Compare suppliers using drawings, test records, foundation details and installation scope.
Demand measurable concrete quality, not a thickness claim
A 100 mm panel is not durable because it is 100 mm thick. Ask for its specified RCC concrete strength, exposure class and production records; thickness alone says nothing about permeability, shrinkage cracking or reinforcement protection.
Request these records for each production batch:
- Concrete mix design showing cement type, aggregate grading, admixtures and water-cement ratio
- Cement and aggregate batch traceability, including delivery dates and source records
- Curing method and curing duration under IS 456:2000 guidelines
- Concrete cube tests identifying specimen age, test date, batch number and compressive strength
- Reinforcement diameter, spacing and measured nominal cover
- Dimensional checks and the release or lifting strength used before demoulding
IS 456:2000 gives a normal minimum curing period of seven days for ordinary Portland cement concrete and ten days for blended cement or concrete containing mineral admixtures. Hot, dry conditions require longer curing.
Early demoulding followed by rapid drying can leave a panel more permeable and prone to shrinkage cracks, even when a later cube test passes.
Compare the stated water-cement ratio and cover with the site exposure. Coastal salt air, persistent dampness or industrial contamination demands controlled permeability and adequate cover; a high strength grade alone will not stop chloride ingress and reinforcement corrosion.
Reject records that show uncontrolled water added at the mould, missing batch identification or cube results unrelated to the panels supplied.
Match reinforcement, cover and concrete to the site exposure
A durable panel combines crack-controlling steel, adequate concrete cover and low-permeability concrete suited to the site exposure. Ask for the reinforcement diameter and spacing, not simply “reinforced” on a quotation.
A reinforcement cage made with welded mesh, bars or prestressing wire must remain fixed during vibration; displaced steel creates thin cover, honeycombing and early corrosion paths.
| Site condition | Main durability threat | What to specify or verify |
|---|---|---|
| Inland, drained ground | Carbonation and drying cracks | Concrete cover and crack control designed for the IS 456:2000 exposure class |
| Coastal exposure or salt-contaminated soil | Chloride ingress and reinforcement corrosion | Low-permeability concrete, controlled water-cement ratio, adequate cover and restricted cracking |
| Persistent rain, splash or standing water | Moisture penetration, rust staining and freeze-thaw damage where applicable | Exposure-appropriate concrete quality, drainage and sealed joints; never rely on strength grade alone |
IS 456:2000 increases nominal cover as exposure becomes more severe, from about 20 mm for mild exposure to about 75 mm for extreme exposure. Confirm the specified cover against the actual classification, and check that concrete cover blocks or spacers hold the cage above the mould during casting.
A site-added water dose can raise permeability and shorten service life even when cube strength passes.
Treat prestressing wire as a design choice, not proof of durability. Verify crack widths, release strength and corrosion protection. Hairline cracks following reinforcement, rust staining or spalling require investigation; cement slurry only hides a route for water and chloride ingress.
Inspect panels, lifting details and joints before installation
A durable panel arrives with sound edges, intact lifting points and joints that match the approved detail. Reject or quarantine one showing damage from stripping, transport or forced handling; installation will not reliably hide a structural defect.
| Check | Durable sign | Damage or risk |
|---|---|---|
| Panel surface and edges | Dense concrete, minor uniform bugholes only, and no honeycombing, deep voids or edge breakout | Honeycombing, segregation or chipped corners can expose reinforcement and admit water |
| Cracks and steel | No continuous cracks, open insert pockets, spalling, rust staining or exposed reinforcement | Hairline cracks need classification; cracks following reinforcement, crossing the panel or widening at a joint require investigation |
| Lifting details | Anchors are correctly positioned, undamaged and rated for the panel weight, lifting configuration, dynamic effects and concrete strength at release | Bent anchors, cracks around inserts or sling marks show unsafe lifting; never pull a panel from its mould or lift it by reinforcement tails |
| Panel-to-post joints | The specified dry, sealant or grout detail is consistent, with a clear water-shedding path and repair method | An open joint admits rain and contaminants; rigid packing without erection tolerance can crack panel corners |
Inspect the underside and lower edge before unloading. Soil, splash water, weeds and irrigation can keep this zone wet, so do not accept a panel with crushed edges or damage hidden beneath transport supports.
Ask for the lifting drawing, anchor capacity, release-strength record and inspection procedure. Check sealant and grout compatibility with the joint width, and photograph every defect before installation. A cosmetic cement slurry repair is not acceptable until the crack cause and any corrosion are addressed.
Design the foundation and wall layout for the actual site
A stable wall begins with compound wall foundation design sized for the actual soil and forces, not a catalogue footing. Expansive clay, loose fill and waterlogged ground can settle or swell unevenly, racking panels and opening joints.
- Confirm the bearing stratum and groundwater level before fixing footing dimensions or post embedment depth. Replace unsuitable fill, improve drainage or use a designed deep foundation where the soil cannot support isolated footings.
- Calculate wind load and suction for wall height, exposure, corners, end posts, gates and uninterrupted runs. Open terrain, hilltops and solid gates increase overturning demand, so do not copy intermediate-post details into corners or gate openings.
- Check seismic load, vehicle impact and retaining pressure separately. A compound wall panel is normally infill, not a retaining wall; keep soil level below the panel unless the footing and wall are specifically designed for lateral earth pressure. Use bollards or a setback where vehicles could strike the wall.
Set finished ground to fall away from the wall where practicable, and provide a drainage path that does not trap water against post bases or the lower panel edge. Do not bury the panel or bridge its drainage gap with soil, mulch or paving.
Continuous saturation promotes staining, corrosion at connections and frost-related damage where freezing occurs.
Divide long runs with movement-compatible joint details and verify panel-to-post tolerances. Rigid packing can transfer settlement or thermal movement into panel corners; unsealed joints admit water, while trapped water inside sleeves corrodes steel. Document the footing, reinforcement, connection, drainage and repair details before installation.
Turn the durability requirements into a supplier comparison
A supplier earns selection by documenting performance, not by quoting panel thickness. Use the same precast RCC supplier checklist for every bidder so your supplier comparison measures evidence rather than sales language.
1. Request batch-level quality-control records: concrete mix and cement details, aggregate traceability, curing method and duration, compressive-strength cube results, reinforcement and cover checks, dimensional tolerances, and the concrete release or lifting strength. Reject records that identify only a factory average.
2. Ask for a reinforcement drawing showing bar or mesh type, diameter, spacing, laps, cover, lifting inserts and corrosion protection. Require separate details for intermediate, corner and end posts, plus gate openings; their load paths are different.
3. Obtain the joint and foundation drawings before ordering. The joint detail must identify dry, grouted or sealant construction, water-shedding and repair provisions. The foundation document must state footing dimensions, concrete grade, reinforcement, founding condition, drainage and backfill; a “standard foundation” is not enough.
4. Require a written lifting, transport and installation method covering anchor configuration, panel release strength, vehicle support, post alignment, joint tolerances and allowable handling damage. During delivery inspection, record edge breakout, cracks near inserts, exposed steel, honeycombing and unfilled pockets with photographs.
Ask Trimurti Precast to supply this same evidence when comparing its proposal with alternatives. Missing batch records, unclear dimensional tolerances or instructions that force panels into misaligned posts are reasons to pause installation, not paperwork gaps.
Related products
 | Compound Walls Product Details: Thickness 50 mm Material RCC Built Type Prefab Build, Panel Build Beams Size 6 x 6 Inches, 150 x 150 mm, 200 mm x 200 mm Height 2... View product → |
 | Compound Walls Rcc Folding Concrete Compound Wall Product Details: Wall Type Compound Wall Thickness 50 mm Material RCC Built Type Prefab Build, Panel Build Beams Size 6 x 6 Inches, 150 x 150 mm, 200... View product → |
Frequently asked questions
Is a thicker RCC compound wall panel always more durable?
No. Panel thickness alone does not establish durability. Ask for specified concrete strength, exposure class, permeability controls and production records.
How should reinforcement and concrete be selected for a compound wall?
Match reinforcement, concrete strength and cover to exposure from rain, salts, chemicals, moisture and industrial conditions. Confirm the details on drawings.
What should you inspect before RCC wall panel installation?
Check panels for cracks, honeycombing, damaged edges and accurate dimensions. Inspect lifting points, reinforcement cover, joint details and curing records.
What site factors affect an RCC compound wall foundation and layout?
Account for soil bearing capacity, slope, drainage, wind, boundary alignment, gates, utilities and panel dimensions before fixing foundation details.
Related products
 | Compound Walls Product Details: Material Concrete,RCC Wall Type Compound Wall Built Type Panel Build, Prefab Thickness 50 mm Width 2 Inches Height 2 Feet - 10 Feet... View product → |
 | Boundary Walls Material Concrete Type Prestressed Color Grey Beam Size 6 x 6 Inches, 150x150 mm, 200 mm x 200 mm Size 6 feet Country of Origin Made in India we... View product → |
 | Compound Walls Material Concrete Built Type Modular, Panel Build Shape Rectangle Surface Finish Rustic Height 6 Feet Wall Thickness 5-20 mm We, Trimurti Cement... View product → |
 | Compound Walls Product Details: Thickness 50 mm Material RCC, Concrete Built Type Prefab Build, Panel Build Beams Size 6 x 6 Inches, 150 x 150 mm, 200 mm x 200 mm... View product → |