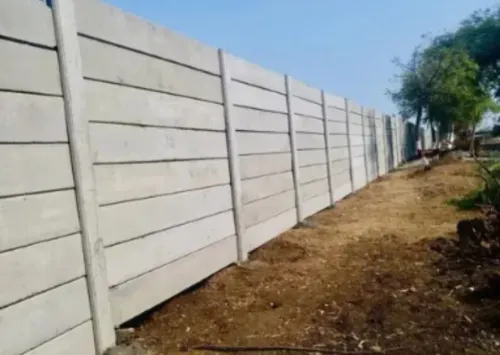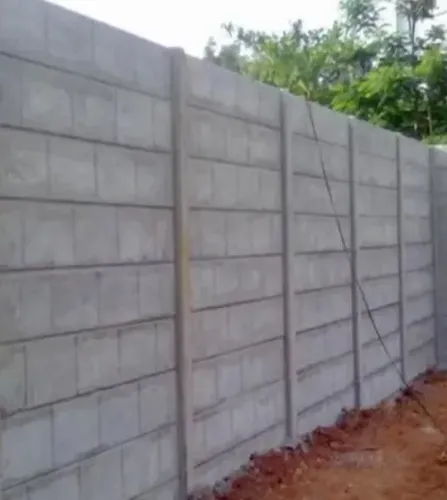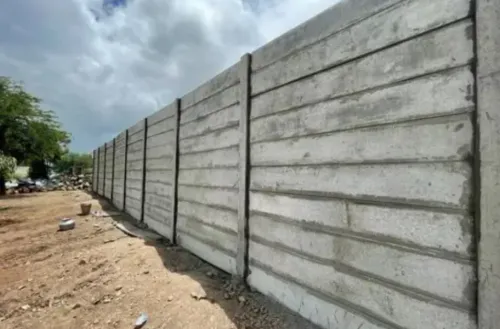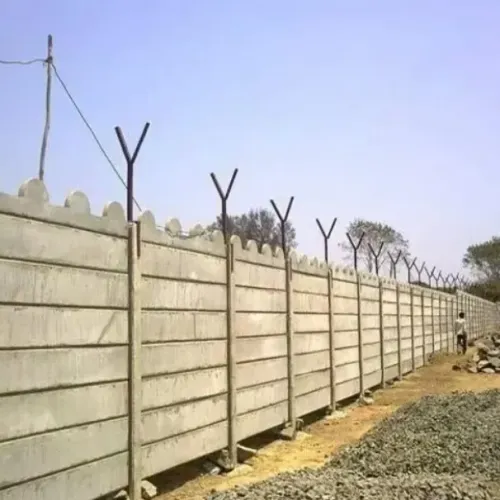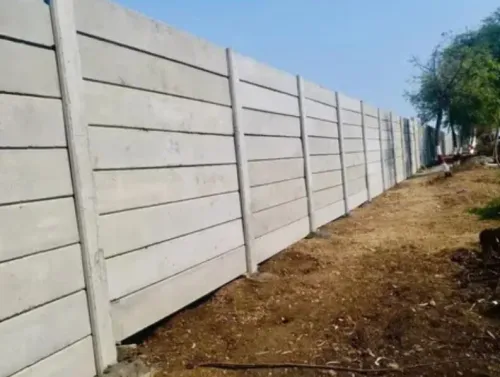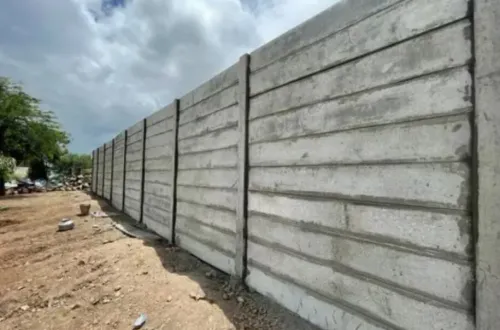
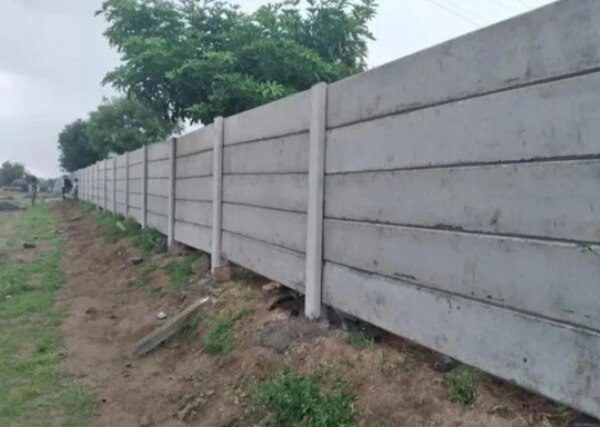
Cracks in an RCC compound wall can come from surface shrinkage, moving joints, water pressure, settlement, impact or reinforcement corrosion. By following a defined inspection schedule, measuring changes and correcting drainage before applying repairs, you can separate cosmetic defects from movement that threatens the wall’s stability.
Key takeaways
- Inspect at handover, after the first wet season, and every year.
- Map each panel and post to track whether cracks are growing.
- Control water, soil pressure and settlement at the wall base.
- Get engineering help for widening cracks, leaning posts or unstable foundations.
Inspect the Wall on a Set Schedule and Map Every Defect
Set an RCC compound wall inspection schedule with a baseline check at handover, a detailed review after the first monsoon or wet season, and at least one full inspection every year. Record each panel and post with an ID so you can distinguish a new defect from one that has stopped changing.
During a monthly wall inspection, walk the entire boundary and check alignment, leaning posts, displaced panels, open joints, chipped edges, exposed reinforcement, rust staining and new cracks. Confirm that panels remain seated on their supports and that bolts, dowels, welds or embedded plates show no looseness or damage.
After heavy rain, conduct a monsoon inspection within 24 to 48 hours. Look for ponding beside the footing, blocked drains, soil erosion below panels, softened ground, water marks at post-panel joints and soil piled against the wall. These conditions can create more pressure than a small surface crack.
Record every defect in a simple wall map:
- Mark the panel or post ID, side and height.
- Measure crack width and length with a crack gauge or ruler.
- Photograph the defect with a scale and the date visible.
- Recheck after a rain cycle and seasonal temperature changes.
Carry out a post impact inspection after a vehicle strike, gate collision, flooding, nearby excavation or sudden settlement. Check for panel offset, loose connections, fresh cracks, footing movement and a change in plumb. Stop relying on cosmetic repairs if movement repeats or the wall begins to tilt.
Classify Cracks Before You Fill or Paint Them
A fine, shallow line in render or concrete surface is usually less concerning when it is random, dry, stable and shows no displacement. RCC wall cracks need investigation when they widen, pass through a panel or post, follow a structural line, or allow water to reach reinforcement.
Use this procedure before filling or painting:
1. Clean the crack edge without widening it, then measure the crack width with a crack gauge. A width near 0.3 mm is a practical trigger for closer investigation in reinforced concrete, not proof that the wall is unsafe. Depth, movement, location, reinforcement cover and wall loading matter more than one number.
2. Mark the crack’s ends with the date and photograph it beside a ruler. Recheck after heavy rain and after several weeks; a crack that lengthens or opens is active, even if it began as a hairline.
3. Treat surface shrinkage cracks as low-risk only when they remain fine, shallow and unchanged, with no rust staining, dampness, concrete loss or offset between either side. Do not use elastomeric coating to hide a crack that is moving, wet or attached to a deteriorated area.
4. Escalate structural cracks to a qualified engineer or contractor if you see stepped cracks in masonry infill, diagonal cracks from corners, horizontal cracks near the base, displaced panels, leaning posts, exposed reinforcement, spalling concrete or sudden movement. Water staining at post-panel joints or a crack beside a foundation also warrants investigation before repair.
Control Water, Soil and Settlement at the Wall Base
Keep finished ground below the intended panel level; a compound wall is not a retaining wall. If site grading, paving or landscaping leaves soil against the panels, lateral earth pressure and hydrostatic pressure can bend panels, open joints or lean posts. Redesign the structure as a retaining wall if soil must be retained.
After heavy rain, include these checks in wall foundation maintenance:
- Look for ponding near compound wall, blocked surface drains and water staining at post-panel joints.
- Check for soil erosion below panels or washout beside footings.
- Confirm that downpipes and irrigation lines discharge away from the foundation, not beside it.
- Inspect weep holes for blockage, but do not treat them as a complete drainage system.
- Check whether recent excavation, paving or fill has changed ground levels.
Weep holes relieve water only when a free drainage path exists behind them. Retained soil needs granular drainage material, a filter layer and a perforated collector drain; otherwise muddy discharge can appear while pressure remains trapped.
Control vegetation at the base and joints because roots can lift paving or footing edges, while irrigation can soften soil and wash it from beneath shallow foundations. Do not cut large tree roots without assessment: removing an established tree can cause soil-moisture rebound and ground movement.
Check the original footing and post design before adding height, heavy gates, shade structures, masonry or signage; extra wind area and eccentric loading can damage an otherwise crack-free wall.
Clean and Repair Each Wall Component Without Hiding Damage
A pressure washer can drive water into cracks and joints, while a rigid mortar patch can crack again beside a moving panel. Match the treatment to the component and expose damage before applying any coating.
| Component | Cleaning method | Repair method |
|---|---|---|
| Panel surface | Use clean water, mild detergent and a nylon brush; use low-pressure washing for embedded dirt | Fill a confirmed dormant, non-structural surface crack with a compatible flexible repair material; monitor uncertain cracks before filling |
| Post or beam | Brush away dust and biological growth, then rinse without forcing water into cracks | Do not cover structural cracks with plaster; obtain assessment when cracks pass through the member, widen or show displacement |
| Panel-to-post joint | Remove dirt, failed sealant and loose filler with hand tools; let the joint dry | Install correctly sized backer rod and elastomeric sealant so the joint can move; replace sealant when it splits, hardens or loses adhesion |
| Spalling concrete | Remove loose pieces by hand or with light chipping tools until sound concrete is reached | Clean exposed reinforcement, measure section loss, apply a compatible passivation or repair system, restore cover and cure the patch |
| Rust-stained area | Use a stiff brush to remove loose residue, not paint that conceals staining | Find and treat the corrosion source before patching; paint alone only hides continuing damage |
For cleaning RCC surfaces, remove chalking and biological growth before any elastomeric coating. Do not coat a damp or unsound area: trapped moisture can accelerate deterioration. Stop and seek technical advice if steel is exposed, concrete sounds hollow, a beam is cracked, or the repair would carry a gate, shade structure or added load.
Know When to Stop DIY Repairs and Request Engineering Help
Stop DIY repairs when movement affects alignment, support or reinforcement. Arrange a structural engineer inspection for a leaning compound wall, displaced panels, stepped or diagonal cracks, horizontal cracks near the base, sudden movement, spalling, rust staining or exposed reinforcement.
Do not treat a boundary wall as a retaining wall: soil, paving or water pressing against panels requires redesign, not thicker mortar.
| Sign | Action | Why it matters |
|---|---|---|
| Crack widens, extends through a post or shows offset | Stop filling; request an engineer | Movement can indicate settlement or instability |
| Panel is displaced, loose or no longer seated | Restrict access; call a qualified contractor | A hidden connection, dowel, bolt or bearing may have failed |
| Post is out of plumb or the foundation has settled | Obtain an engineering assessment | Alignment loss transfers abnormal load to panels and joints |
| Concrete has spalled or reinforcement is visible | Isolate the area and arrange repair design | Corrosion reduces reinforcement section and bond |
Give the engineer or contractor a dated defect map, crack widths and lengths, scale photographs, wall height and length, post spacing, foundation details, drainage changes, nearby excavation, impact history and previous repairs. Include drawings, installation records and any evidence of soil bearing against panels.
For a precast panel replacement, Trimurti Precast or another supplier needs the panel dimensions, support spacing, connection details, colour or finish, and lifting access; never order by appearance alone.
Frequently asked questions
How often should you inspect an RCC compound wall?
Inspect it at handover, after the first monsoon or wet season, and at least once every year.
How can you tell whether an RCC wall crack is serious?
Record its location, width, direction and change over time before filling or painting it. Widening cracks, displaced panels and leaning posts require engineering review.
What causes damage at the base of an RCC compound wall?
Uncontrolled runoff, trapped water, soil pressure, erosion and foundation settlement can damage the base, panels and posts.
When should you stop DIY repairs on an RCC compound wall?
Stop and request engineering help when cracks widen, posts lean, panels shift, the foundation settles or drainage problems remain unresolved.